
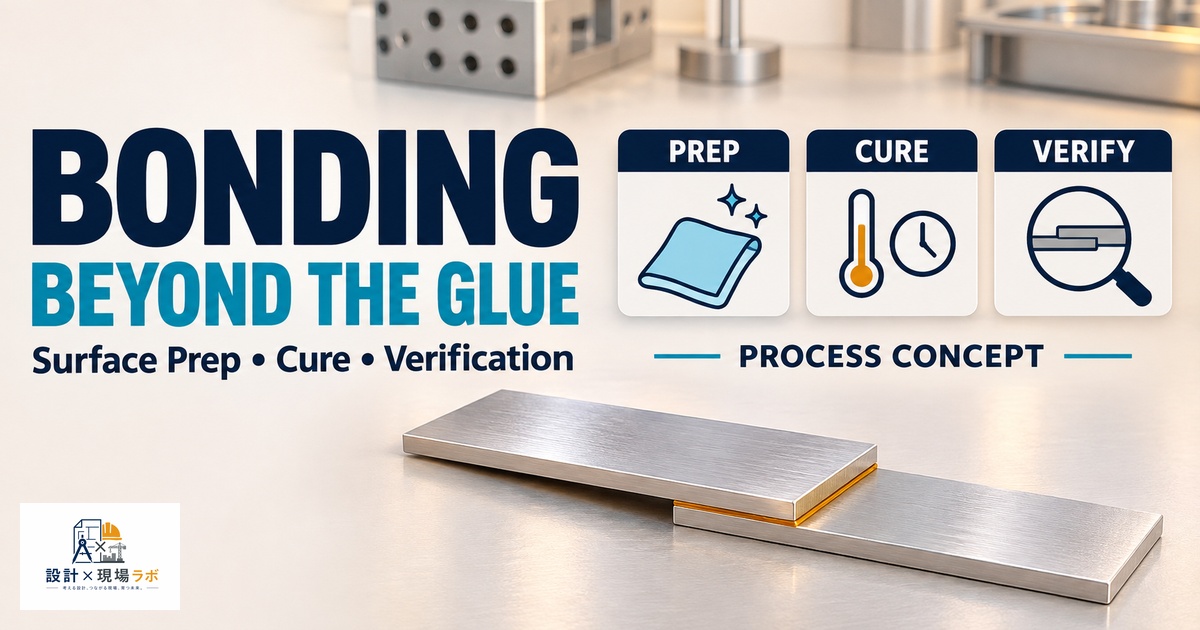
Adhesive bonding was the joining method I trusted least when I started out as a mechanical designer, and it is now one of the ones I reach for most deliberately after twenty years of contract work across automotive, electronics, and general industrial equipment projects in Japan. Part of the reason engineers distrust adhesives is that the failures are less forgiving to diagnose than a bolt backing out or a weld cracking visibly — a bad bond can look perfect right up until it lets go, often because the real failure happened at the surface preparation stage weeks before the adhesive was even applied. This article covers what I have learned about making structural adhesive joints reliable: surface preparation, cure scheduling, and how I actually evaluate whether a bonded joint is strong enough for the application.
- Why Surface Preparation Decides the Outcome Before the Adhesive Is Even Applied
- Adhesive Chemistry Selection: Matching the Bond to the Load and Environment
- Cure Time, Cure Temperature, and the Danger of Rushing the Schedule
- Bond Line Thickness and Its Effect on Joint Strength
- Joint Geometry: Designing for Shear, Not Peel
- Testing and Verification: Lap Shear, Peel, and Environmental Aging
Why Surface Preparation Decides the Outcome Before the Adhesive Is Even Applied
If I had to identify the single biggest source of adhesive bond failures I have investigated over the years, it would not be adhesive selection or cure process — it would be inadequate surface preparation. Adhesive bonding relies on both mechanical interlocking at a microscopic level and chemical or physical adhesion to the substrate surface, and neither of those happens reliably on a surface contaminated with mold release agent, machining oil, or even just ambient oxidation on certain metals. On a project bonding aluminum brackets to a composite panel for a piece of test equipment, we had a batch of parts fail peel testing at roughly a third of the expected strength, and the root cause traced back to a mold release agent on the aluminum extrusion that had not been fully removed by the solvent wipe the assembly instructions specified — a single pass with isopropyl alcohol was not enough to break down the specific release agent that supplier used.
My standard practice now is to specify surface preparation as its own process step with acceptance criteria, not just a line item buried in assembly notes. For metals, that usually means a degreasing step followed by mechanical abrasion (light sanding or grit blasting) to increase surface area and remove oxide layers, followed by a second solvent wipe to remove abrasion dust, and ideally a water-break test to confirm the surface is free of hydrophobic contamination before adhesive goes on. For plastics, especially low-surface-energy materials like polypropylene or polyethylene, mechanical abrasion alone is often not enough — I have specified flame treatment or corona treatment on several projects to raise the surface energy enough for the adhesive to wet out properly, because no amount of cleaning fixes a substrate that the adhesive simply cannot wet.
Adhesive Chemistry Selection: Matching the Bond to the Load and Environment
Choosing the right adhesive chemistry is where the structural engineering actually starts, and I have found that engineers often default to whatever epoxy is already sitting on the shelf rather than matching chemistry to the actual joint requirements. Epoxies are my default for high-strength structural bonds with good chemical and thermal resistance, and they come in room-temperature-cure and heat-cure variants with quite different strength and cycle-time tradeoffs. Structural acrylics (often called MMA adhesives) cure faster than most epoxies and tolerate less-than-perfect surface preparation better, which made them my choice on a metal-to-composite bracket assembly where the production line could not accommodate a long cure oven cycle and surface prep consistency across a contract manufacturer’s shifts was a known risk.
Polyurethanes bring more flexibility and impact resistance to a joint, which matters when the bonded assembly sees vibration or thermal cycling that would fatigue a more rigid epoxy bond line. On an outdoor enclosure project with a bonded gasket-and-frame assembly exposed to seasonal temperature swings, we deliberately moved away from a rigid epoxy to a polyurethane adhesive after field returns showed bond line cracking at the corners — the rigid epoxy could not accommodate the differential thermal expansion between the aluminum frame and the polymer housing, while the more flexible polyurethane absorbed that movement without cracking. Cyanoacrylates (super glues) are fast and convenient but I generally avoid them for anything load-bearing or exposed to moisture and elevated temperature, because their long-term durability under sustained structural load is genuinely poor compared to epoxies or urethanes.
Cure Time, Cure Temperature, and the Danger of Rushing the Schedule
Cure scheduling is where production pressure collides most directly with bond quality, and I have seen more than one program try to shortcut cure time to hit a shipping date, with predictable consequences. Most structural adhesives have a published cure schedule that trades time against temperature — a room-temperature epoxy might need 24 to 72 hours to reach full strength, while the same chemistry heat-cured at 80°C might reach handling strength in under an hour and full strength within a few hours. The trap is that “handling strength,” the point at which a part can be moved without disturbing the bond, is very different from full structural strength, and I have watched an assembly line move bonded parts into a fixture and apply load well before the adhesive had reached anywhere near its rated strength.
On a bracket-bonding operation for an industrial control panel, the line was pulling parts off a fixture after 30 minutes based on a “feels solid” check by the operators, when the epoxy’s actual cure schedule called for 4 hours minimum before any mechanical load should be applied. We were seeing intermittent bond failures downstream at a later assembly step, and it took pulling the actual cure data sheet and comparing it against the line’s cycle time to identify the mismatch. The fix was not a different adhesive — it was adding a proper cure rack with a minimum 4-hour dwell before parts moved to the next station, which required a line balancing change but eliminated the failures completely. I now ask explicitly, on every adhesive-bonded joint I specify, what percentage of full cure strength is required at each downstream handling and loading step, and I make sure that number is checked against the actual cure curve, not assumed from a gut feel about how “set” the adhesive looks.
Bond Line Thickness and Its Effect on Joint Strength
Bond line thickness — the gap between the two substrates that the adhesive fills — has a bigger effect on joint strength than most engineers expect, and the relationship is not simply “thinner is stronger.” For most structural epoxies, there is an optimal bond line thickness, often in the range of 0.1 to 0.3 mm, where the joint achieves maximum strength; going thinner than that increases the risk of a starved joint with insufficient adhesive to fill microscopic surface irregularities, while going thicker increases the likelihood of voids and shrinkage stress within the adhesive layer itself. On a project where the mating parts had a tighter tolerance stack than intended, we ended up with a bond line under 0.05 mm in places, essentially a metal-to-metal contact with adhesive squeezed almost entirely out, and lap shear testing showed a meaningful strength reduction compared to parts with a properly controlled bond line.
My standard practice now is to specify glass bead spacers or a similar mechanical stand-off mixed into the adhesive, or embossed dimples on one of the mating surfaces, specifically to control bond line thickness rather than leaving it to whatever gap the parts happen to have after clamping. It is a small addition to the design that removes a significant source of bond strength variability, and I recommend it on essentially every structural bonded joint I now design, particularly on high-volume programs where clamping pressure and part tolerance will vary shift to shift.
Joint Geometry: Designing for Shear, Not Peel
Adhesives are fundamentally strong in shear and tension when loaded uniformly across the bond area, and fundamentally weak in peel, where load concentrates at a bond line edge and progressively unzips the joint. This is the single most important design principle I try to instill in anyone new to adhesive bonding: geometry matters as much as chemistry. A simple lap joint loaded in shear can carry substantial load, while the same adhesive in a joint geometry that introduces a peel component at an edge — a cantilevered bracket bonded only at its base, for instance — will fail at a small fraction of the load the adhesive’s shear strength would suggest.
| Joint type | Load character | Relative adhesive efficiency |
|---|---|---|
| Simple lap joint | Shear-dominant | High |
| Scarf joint | Shear-dominant, better stress distribution | Highest |
| Butt joint (no reinforcement) | Tension, poor stress distribution | Low |
| T-peel joint | Peel | Very low |
| Cantilevered bonded bracket | Peel at root | Very low |
On a sensor mounting bracket that was originally designed as a simple bonded butt joint against a flat panel, early testing showed the bond failing at loads far below what the adhesive’s data sheet shear strength implied it should handle. Redesigning the joint into a scarf configuration, angling the bond interface to convert more of the load path into shear and spread stress more evenly across the bond area, roughly doubled the failure load with the identical adhesive chemistry and identical bond area. No chemistry change, no surface prep change — purely a geometry change that better matched how the adhesive actually likes to carry load.
Testing and Verification: Lap Shear, Peel, and Environmental Aging
I do not consider a structural adhesive joint validated until it has been through both mechanical testing and environmental aging appropriate to the application. Lap shear testing on witness coupons processed alongside the actual production parts is my baseline check — it catches surface prep and cure process problems that a purely visual inspection of the bonded assembly would never reveal, since a bond can look cosmetically perfect while being structurally weak underneath. On several programs I have set a minimum acceptance threshold as a percentage of the adhesive manufacturer’s published shear strength, typically requiring witness coupons to hit at least 80% of the data sheet value before releasing a production lot, because process variation on the shop floor rarely matches the controlled conditions of a manufacturer’s own test data.
Environmental aging matters just as much for anything that will see temperature cycling, humidity, or UV exposure in service. I once ran into a case where a bonded joint passed all initial mechanical testing with excellent margin, then showed significant strength degradation after a standard 500-hour humidity chamber exposure, tracing back to moisture ingress at the bond line edge over time. That finding led us to add an edge sealant bead around the bonded perimeter specifically to block moisture path ingress, a detail that added negligible cost but resolved the long-term degradation entirely. My rule now is that any structural bonded joint intended for an outdoor or humid environment gets an environmental aging test before I sign off, regardless of how strong the initial lap shear numbers look, because initial strength and long-term durability are simply not the same question.


コメント