
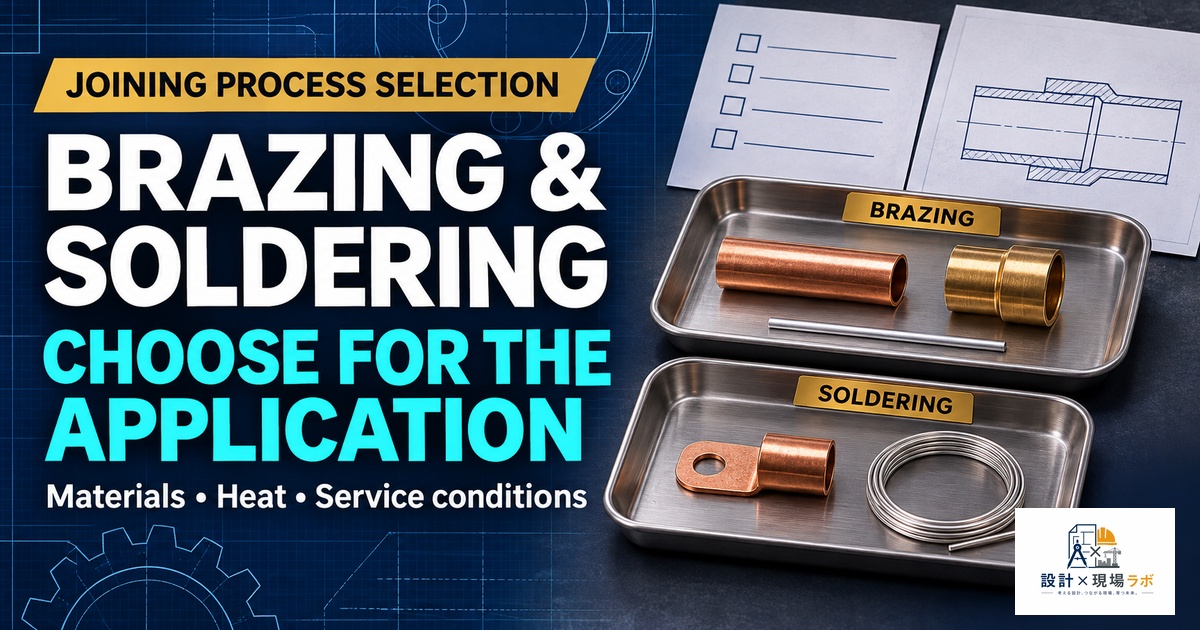
After twenty years as a contract mechanical designer moving through Japanese manufacturing plants, I have noticed that most engineers reach for welding as their default joining process for metal assemblies and only consider brazing or soldering when welding turns out to be impossible — dissimilar metals, thin sheet that would burn through, or a heat-sensitive component nearby. I think that instinct has it backwards more often than people realize. Brazing and soldering are not fallback options; they are frequently the better engineering choice, and understanding when to lead with them rather than default to welding has saved several projects I have worked on from cracked joints, warped assemblies, and blown budgets. This article covers the practical distinctions between brazing and soldering, how I decide between them and welding, and the details that determine whether either process actually holds up in service.
- The Fundamental Difference: Base Metal Melting Versus Capillary Filler Flow
- Brazing: Where I Reach for It Over Welding
- Soldering: The Right Tool for Lower-Load, Heat-Sensitive, or Electrical Assemblies
- Comparing Brazing, Soldering, and Welding at a Glance
- Joint Design for Capillary Action: Gap Control Is Everything
- Flux Selection and Post-Process Cleaning
- Strength and Service Temperature Limits in Practice
- Reference
The Fundamental Difference: Base Metal Melting Versus Capillary Filler Flow
The distinction that matters most for design decisions is not really about temperature ranges, even though that is how most textbooks introduce the topic — it is about what physically happens to the base metal. Welding melts the base metal itself (with or without filler) to form the joint. Brazing and soldering never melt the base metal at all; a filler metal with a lower melting point flows into the joint gap by capillary action and bonds to the base metal surfaces without either of them reaching their melting point. This distinction has real consequences for distortion, heat-affected zone properties, and the geometries you can join.
On a thin stainless steel bracket assembly for a food processing machine, we originally specified a TIG weld along a fairly long seam, and the welded parts came out of the process with enough thermal distortion that they failed a flatness check downstream, requiring a secondary straightening operation that added cost and risked cracking the heat-affected zone further. Switching to a brazed joint using a silver-based filler dropped the peak process temperature by several hundred degrees compared to the melting point of the stainless steel itself, and the distortion problem essentially disappeared because the base metal never approached the temperature range where it becomes plastic and prone to warping under residual stress.
Brazing: Where I Reach for It Over Welding
Brazing (generally defined as using a filler metal with a melting point above 450°C, distinguishing it from soldering below that threshold) is my first choice whenever a project involves dissimilar metals that cannot be welded together metallurgically, thin-to-thick material transitions where welding would blow through the thinner piece, or complex assemblies with multiple joints that need to be made simultaneously in a furnace rather than one at a time with a torch or arc.
Dissimilar metal joining is where brazing earns its keep most clearly in my experience. On a heat exchanger assembly combining a copper tube with an aluminum bronze fitting, welding was never a realistic option because the two metals do not form a sound welded joint — their metallurgical properties are too different, and you get brittle intermetallic compounds at the interface that crack under thermal cycling. Brazing with a silver-copper-zinc filler alloy, chosen specifically for its compatibility with both base metals, gave us a joint that passed both pressure testing and thermal cycling without issue. I have seen engineers try to force a welded solution onto a dissimilar-metal joint because welding was the process they were most comfortable specifying, and it rarely ends well.
Furnace brazing also becomes attractive at volume in ways that change the economics of the whole assembly. On an HVAC component with roughly a dozen joints per assembly, torch brazing or welding each joint individually would have meant a significant labor cost and joint-to-joint quality variation depending on the operator. Furnace brazing let us apply filler paste to every joint during pre-assembly, then run the entire unit through a controlled-atmosphere furnace in a single cycle, producing all twelve joints simultaneously with consistent quality and without an operator’s hand skill being a variable in the outcome. That kind of batch processing is simply not available with arc welding.
Soldering: The Right Tool for Lower-Load, Heat-Sensitive, or Electrical Assemblies
Soldering uses filler metals melting below 450°C — tin-lead alloys (increasingly replaced by lead-free tin-silver-copper alloys for regulatory reasons), or specialty alloys for particular substrates. I specify soldering almost exclusively for lower mechanical load applications, electrical or thermal conductivity requirements, or assemblies where nearby components genuinely cannot tolerate brazing or welding temperatures.
Electrical and electronic assembly is the obvious application, but soldering also shows up in mechanical assemblies more than people expect once you start looking for it. On a small sensor housing with a thin-wall brass tube that needed to be joined to a fitting near a plastic component that would deform well below brazing temperature, soldering with a tin-silver alloy was the only realistic option — the process temperature stayed low enough that the nearby plastic component, positioned only a few millimeters from the joint, never exceeded its heat deflection temperature. I have also used soldering for sight glass and instrumentation fittings on lower-pressure systems, where the joint needs to be leak-tight and reasonably strong but is never going to see the structural loads that would demand a brazed or welded joint instead.
The tradeoff engineers need to respect is that soldered joints have meaningfully lower strength and lower service temperature limits than brazed joints, and treating a soldered joint as a structural connection is a mistake I have seen made more than once. A soldered joint on a bracket that later saw unexpected vibration loading in service crept and eventually failed, not because the solder joint was poorly made, but because soldering was simply the wrong process choice for a joint that ended up carrying real mechanical load it was never designed to handle.
Comparing Brazing, Soldering, and Welding at a Glance
| Factor | Welding | Brazing | Soldering |
|---|---|---|---|
| Base metal melts | Yes | No | No |
| Typical filler melting point | N/A (base metal melts) | Above 450°C | Below 450°C |
| Joint strength | Highest, approaches base metal | High, often 80%+ of base metal | Lower, moderate load only |
| Thermal distortion risk | Highest | Moderate | Lowest |
| Dissimilar metal capability | Limited | Good | Good |
| Thin-section suitability | Risk of burn-through | Good | Excellent |
| Batch/furnace processing | Difficult | Well suited | Well suited |
Joint Design for Capillary Action: Gap Control Is Everything
The single most common mistake I see in both brazed and soldered joint design is treating the joint clearance the way you would treat a welded joint or a press fit, rather than respecting the fact that both brazing and soldering rely entirely on capillary action to draw filler metal into the gap. Too tight a gap and the filler cannot flow in fully, leaving voids; too loose a gap and capillary action weakens dramatically, also leaving voids, just for a different reason. Most brazing filler alloys have an optimal joint clearance in the range of 0.05 to 0.15 mm, and soldering alloys often want a similarly tight range depending on the specific filler and flux system.
On a tube-and-fitting brazed assembly where the mating diameters had been toleranced without any specific attention to braze clearance — essentially treated as a generic slip fit — we saw inconsistent joint quality on X-ray inspection, with some assemblies showing good filler penetration and others showing voids covering a significant fraction of the joint area. Tightening the tolerance band on both the tube OD and fitting ID specifically to hold the braze clearance within the filler manufacturer’s recommended range resolved the inconsistency almost completely. I now flag braze and solder joint clearances as a dimension that needs its own tolerance callout on the drawing, separate from whatever general fits-and-tolerances standard the rest of the part follows, because a generic tolerance stack will not reliably deliver the narrow clearance capillary joining actually needs.
Flux Selection and Post-Process Cleaning
Flux does the essential job of removing oxide layers from the base metal surface and preventing new oxidation during heating, and getting flux selection and cleanup wrong causes more field failures than people expect, especially corrosion failures that show up months after assembly rather than at the point of joining. I once ran into a case where a brazed copper assembly for a fluid system started showing green corrosion deposits and eventually a slow leak after about four months in service, and the root cause was residual flux that had not been fully cleaned from the joint after brazing — the flux residue was mildly corrosive in the presence of the moisture the system carried, and it slowly attacked the joint from the inside over time.
My standard practice now is to specify the flux cleaning method explicitly as part of the process, not leave it to whatever the operator happens to do, and for corrosive flux types I insist on a water rinse or appropriate solvent cleaning step with a verification check, sometimes as simple as a pH test strip on the rinse water, before the assembly is accepted. For applications where flux residue risk is unacceptable regardless of cleaning diligence, I have moved toward controlled-atmosphere or vacuum furnace brazing, which uses no flux at all and eliminates the residue risk entirely, though at a higher capital equipment cost that only makes sense at sufficient production volume.
Strength and Service Temperature Limits in Practice
The last point I want to stress is that brazed and soldered joints are not free passes on strength — they need to be verified against the actual service conditions just as rigorously as a welded joint would be, and the failure modes are different enough that assuming “it looks like a solid joint” is not sufficient. A well-made brazed joint with proper filler alloy selection can reach 80% or more of the base metal’s strength in shear, which is genuinely comparable to a good weld in many applications, but that number depends heavily on proper gap control, flux cleanliness, and filler alloy selection matched to the base metals — cut corners on any of those and the achievable strength drops substantially below what the filler alloy’s data sheet would suggest.
Service temperature is the other limit that catches people off guard. A brazed joint is only as strong as its filler alloy allows at the actual service temperature, and I have seen an assembly specified with a low-temperature braze filler for cost reasons, then installed in a location that saw intermittent exposure closer to the filler’s own melting range during an upset condition in the process it served. The joint did not fail catastrophically, but it crept and lost clamping integrity over repeated thermal excursions. Matching filler alloy melting point with real margin above the worst-case service temperature, not just the nominal operating temperature, is a check I now run explicitly on every brazed or soldered joint I specify, because the nominal condition is rarely the condition that actually determines whether the joint survives its service life.
Reference
Weld joint design has its own rules of thumb that are easy to get wrong without a dedicated reference.
Design of Welded Structures (Blodgett)
As an Amazon Associate I earn from qualifying purchases.

コメント