
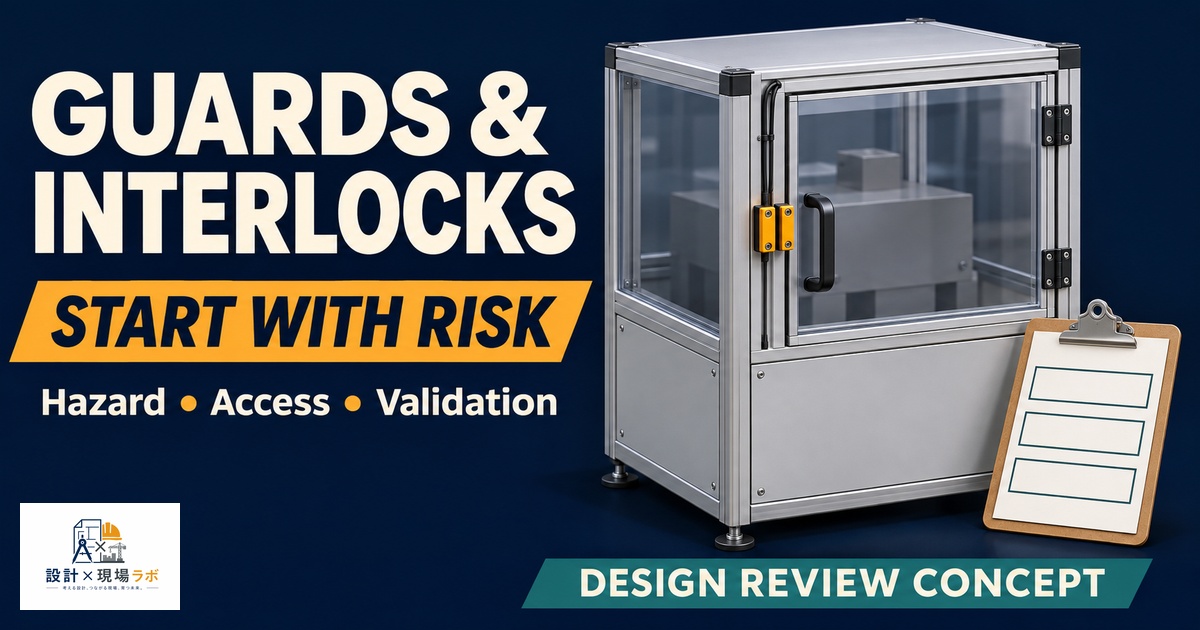
Guarding and interlocks are one of those areas where I have watched designers swing between two failure modes over my twenty years as a contract mechanical designer stationed at manufacturing plants in Japan. One extreme is under-guarding, where a hazard is left exposed because someone assumed operators would just be careful. The other extreme, which I actually see more often on well-funded projects, is over-engineering – stacking redundant interlocks, oversized guards, and unnecessarily complex safety circuits onto a hazard that could have been addressed with a simple fixed panel and a properly rated switch. Both extremes cost the client money and both create problems, just in different directions. This article covers how I actually approach guard and interlock selection on real machines, including the moments where I talked a client out of gold-plating a safety system and the moments where I had to push back the other way.
Starting From Risk Assessment, Not From a Parts Catalog
The mistake I see most often, especially from designers newer to safety-critical equipment, is starting the guarding conversation by browsing an interlock switch catalog. That is backwards. I start every guarding decision from a risk assessment – what is the hazard, what is the severity if contact occurs, how frequently is a person exposed, and how likely is avoidance if something goes wrong. Only after those questions are answered does the appropriate guard type and interlock category fall out naturally.
On a rotary index table project I worked on for a food processing client, the initial request from the plant was for a light curtain around the entire perimeter with a Category 4 safety circuit, because that is what a similar machine elsewhere in the plant used. When I actually ran the risk assessment on this specific machine, the hazard was a slow-moving index motion, low force, with the only realistic injury being a pinch at low severity, and the access frequency was maybe twice a shift for minor adjustments. A light curtain and Category 4 circuit was massive overkill for that risk profile. I specified a simple fixed guard with a hinged access door and a Category 1 interlock switch instead, which met the actual risk level, passed the plant’s safety audit without issue, and saved a meaningful amount on both hardware and the safety PLC programming that a higher category circuit would have demanded.
The reverse happened on a different project – a horizontal band saw feed mechanism where the original design had only a fixed guard with no interlock at all, on the assumption that operators would never need to open it during operation. When I actually watched operators on the shop floor, they opened that guard multiple times per shift to clear sawdust buildup, often without powering the machine down first because doing so interrupted their pace. That is exactly the scenario an interlock exists for, and I redesigned it with a solenoid-locked guard that would not release until the blade came to a complete stop.
Choosing Guard Type for the Actual Hazard
Fixed guards, the simplest and cheapest option, are appropriate when access behind the guard is genuinely infrequent – annual maintenance, not routine operation. The moment a guard needs to open more than a few times a month, a fixed guard with bolts becomes an operator’s enemy, and I have watched plants simply remove fixed guards entirely because reattaching bolted panels dozens of times a week was too much friction. That removal is a far worse safety outcome than specifying an interlocked guard in the first place.
Interlocked movable guards are my default for anything accessed regularly. Within that category, I choose between mechanical interlock switches, non-contact magnetic switches, and RFID-coded switches based on how much the plant needs to resist defeat. A standard mechanical roller switch is cheap and reliable but relatively easy to defeat with a piece of tape or a zip tie holding the actuator in place, something I have genuinely found done by operators trying to speed up their own workflow. On machines where defeat resistance matters – typically anywhere the hazard severity is high, like a press or a robot cell – I specify coded non-contact switches that require the correct matched actuator, which are far harder to defeat casually.
Presence-sensing devices like light curtains and laser scanners earn their cost on high-cycle machines where a physical guard door would slow the process down too much, or where the access point is large and irregular, like a robot cell perimeter with a pallet conveyor passing through it. But they come with real maintenance burden – alignment drift, false trips from dust or reflective material, and a control category that typically demands more rigorous periodic testing. I do not reach for a light curtain by default; I reach for it when a physical guard genuinely cannot work for the process.
Interlock Category Selection and the Cost Curve
Safety categories under ISO 13849 (Category B through 4, with corresponding Performance Level ratings) are where I see the most unnecessary cost creep. Each step up in category roughly multiplies the hardware and validation cost, because you move from a single-channel switch to dual-channel, then to dual-channel with monitoring, then to fully redundant architecture with diagnostic coverage. The cost curve is not linear, and neither is the risk reduction it buys you.
| Category | Typical Architecture | Relative Cost | Appropriate Risk Level |
|---|---|---|---|
| B / 1 | Single channel switch | Baseline | Low severity, low frequency |
| 2 | Single channel with periodic check | 1.2-1.5x | Low-moderate severity |
| 3 | Dual channel, single fault tolerant | 2-3x | Moderate-high severity |
| 4 | Dual channel with diagnostics | 3-5x | High severity, high frequency |
I once reviewed a proposal from another firm for a small parts feeder that specified Category 4 interlocking on a guard protecting against a low-force vibratory bowl mechanism. The severity of contact was minor – at worst a pinched finger with no crush potential – and access frequency was low. Category 4 hardware and the associated safety relay architecture roughly tripled the interlock circuit cost compared to what the actual risk assessment supported. I do not think the original designer was being careless; I think they defaulted to the highest category out of caution without running the numbers, which is a common and understandable instinct but not a substitute for the actual risk assessment math.
Guard Geometry and the Reach-Through Problem
A properly interlocked guard that still allows a hand to reach through an opening and contact the hazard is not actually a safe guard, and this is a detail that gets missed more than people expect. Standards like ISO 13857 define minimum safety distances based on opening size – the larger the mesh or gap, the further the guard has to be positioned from the hazard to prevent reach-through.
I ran into this directly on a conveyor transfer point where the original guard used a fairly open wire mesh, chosen mainly because it was cheap and allowed visual inspection of the mechanism. When I calculated the reach-through distance for that mesh opening size against the actual distance from guard face to the nearest pinch point, the numbers did not clear the standard’s minimum safety distance table. I had two options: reduce the mesh opening size, or move the guard further from the hazard. Moving the guard was not practical given the machine’s footprint, so I specified a finer mesh, which cost slightly more but kept the guard in its intended location without compromising visibility as much as a solid panel would have.
Bypass Resistance and the Human Factor
No interlock design is complete without thinking honestly about how operators will try to work around it under production pressure. I have learned to ask maintenance and production supervisors directly what shortcuts they have seen operators take on similar machines, because that answer shapes my switch selection and guard geometry more than any standard’s text does.
On an automated assembly cell, I initially specified standard mechanical interlock switches on the sliding guard doors. During a walkthrough, a production supervisor mentioned that on a similar cell elsewhere in the plant, operators had jammed the switch actuator with a folded piece of cardboard to keep the cell running while reaching in to clear minor jams, because the cycle time penalty for a full guard-open sequence was costing them their production numbers. That told me the switch type itself was not going to solve the underlying problem – the actual issue was that the guard-open-to-guard-close cycle was too slow and was creating pressure to defeat safety. I addressed both: switched to a coded non-contact interlock that was much harder to defeat with cardboard, and worked with the controls engineer to shorten the restart sequence so reopening after a legitimate stop did not cost as much cycle time. Fixing only the switch would have addressed the symptom without the cause.
Documentation That Survives an Audit
The last piece I always build in is a clear guarding and interlock schedule that ties each guard back to its risk assessment entry, its category selection, and its test interval. When a plant safety auditor asks why a particular guard uses a Category 3 interlock instead of Category 4, I want the design file to answer that question immediately rather than requiring someone to reconstruct the reasoning years later. I keep this as a simple table alongside the general arrangement drawing, listing guard ID, hazard description, severity and frequency ratings from the risk assessment, selected category, and switch part number. It has saved audit visits more than once, and it is the kind of documentation that costs almost nothing to produce at design time but is expensive to reconstruct after the fact.


コメント